WishList is probably the oldest plugin for membership site creation. In fact, one of our first membership sites that we’ve built for a client was using WishList. The plugin provides a lot of features that can help you to build even the most complex membership site.
What we like about WishList is that it supports many payment methods. You won’t find so many integrations probably at any other membership plugin. But not just payment integrations, autoresponder, and webinar integrations also. We highly recommend buying WishList if you want to integrate your complete sales funnel with WishList.
The other WishList features such as: sneak peek (teaser content), flexible member levels, easy content protection… make this plugin one of the top 5 membership plugins for 2018.
Now let’s see what WishList can do for you…
WishList Member Installation
WishList is a premium WordPress plugin (with a cost of $197 or $297) and can be installed like any other third party plugin. After you bought your license you will get access to the plugin for download. Download the latest version of the WishList Member plugin and upload it.

Go to Plugins -> Add New -> Upload Plugin

Figure 1. Uploading the WishList Member plugin
Creating The Membership Levels In WishList Member
After the installation, there will appear a small notification asking you to create your first membership level. Click on the link and move to levels creation.

Figure 2. Notification after the installation of the plugin
On the next screen will appear a pop-up asking you to use the Setup Wizard.
Click YES.
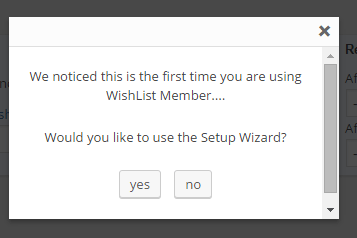
Figure 3. Setup wizard
Put the name of your first membership level and click Next. If you want, there is an option (Add Another Membership Level) to enter all levels for your product at this step.

Figure 4. WishList Member Setup Wizard Step #1
We assume that you don’t have the essential core pages created for your membership site. Let WishList create them for you and click Next.

Figure 5. Creating Error Pages
You don’t need WishList to automatically protect your ALL pages and to show the protection. Just leave the default settings at this step and go to the Next step.

Figure 6. Automatically protect all pages
If you have custom designed Thank You page and Members Area page, then you can select them here from the drop-down menu or let WishList create them for you.

Figure 7. Pages for login/register redirect
When you are done click Save This Setup on the right.
Now your setup is complete and you’ve successfully created your membership levels.
Now you need to make a small customization to your levels by going to Levels -> Membership Levels.
You need to Edit your membership level and put a nice URL slug at the end of the registration link by clicking on the Edit URL.
In addition, you can select where this membership level will redirect your subscribers after login and after registration.
Also, there is an option to allow full access to all post/pages/categories for users who will register for this level (we will do this later!). You can set the length of subscription for this level if you want and you can set the role when someone registers for this level (subscriber, contributor, author, editor).
The other advanced features are not necessary.

Figure 8. Editing the register URL of the membership level
Let’s move to the content protection…
Content Protection In WishList (Bulk)
From WishList -> Content area you can manage which post or page will be accessible by which membership level.
Start by selecting the post or pages you want to be protected and under Bulk Actions you can:
- Edit protection status
- Add levels
- Remove levels
- Edit pay per post status
- Manage pay per post users
Now we want to protect 3 of our pages. First, we will select Edit protection status -> Protected and then we will add which membership level will access this pages by selecting Add Levels and writing the name of our membership level.
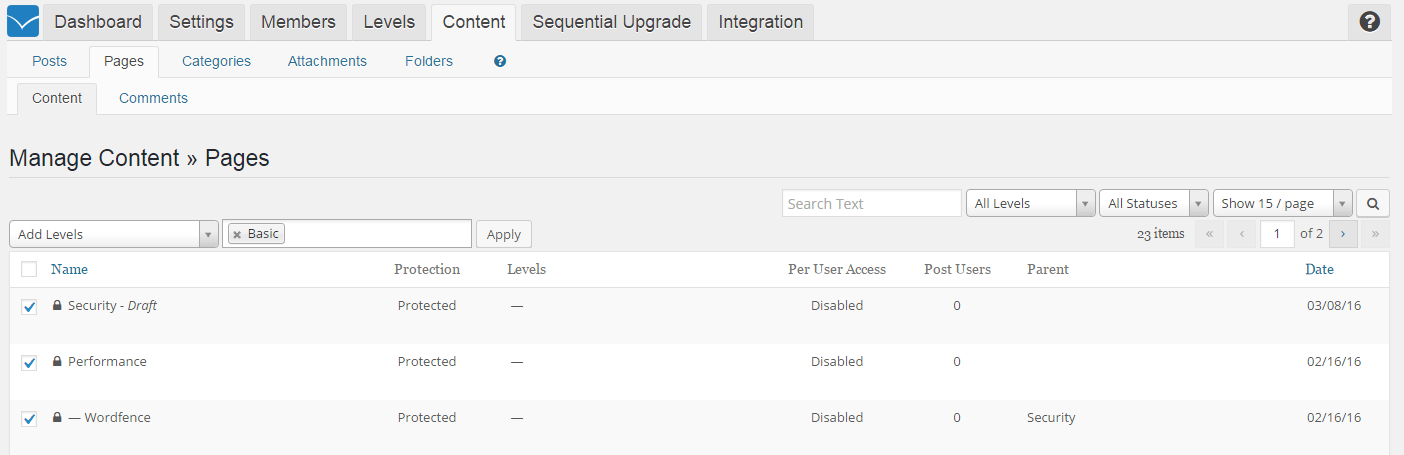
Figure 9. Content protection in WishList
Beside posts and pages, WishList can protect:
- Categories
- Files (attachments uploaded in Media Library)
- Folders (protect created folder through FTP)
Content Protection In WishList (Individual)
You can protect your post or pages directly as you are creating them.
While creating a new post, below the WYSIWYG editor you can find the WishList Member area for single post protection.

Figure 10. Single post protection
From here you can protect your post and decide for which membership level will be accessible this post.
Another unique feature in WishList member is Pay Per Post. It allows you to charge your users only for this post individually.
Content Protection In WishList (Teaser Content)
In the same post, you can decide to show free teaser content for non-members and to protect the premium content for paid users.
In the WP editor select your premium content, find the blue icon of WishList -> Mergecodes ->

Figure 11. Teaser content in WishList
WishList Email Configuration
WishList provides complete email system for different user triggers. In WishList Member -> Settings-> Email Settings you can configure the sender information, email throttling and many email templates for many triggers.
Before launching your membership site, make sure everything looks fine here. The features in this tab are pretty self-explanatory.

Figure 12. Make sure the email settings look nice for you
Speaking of emails, WishList Member allows you to broadcast emails to your subscribers (without using autoresponder). But be extremely careful with this because it may burden your server. Also if you decide to broadcast emails through WishList Member -> Members -> Email Broadcast, make sure to include your physical address of your company. This is for mails to NOT end up in the spam folder of your users.
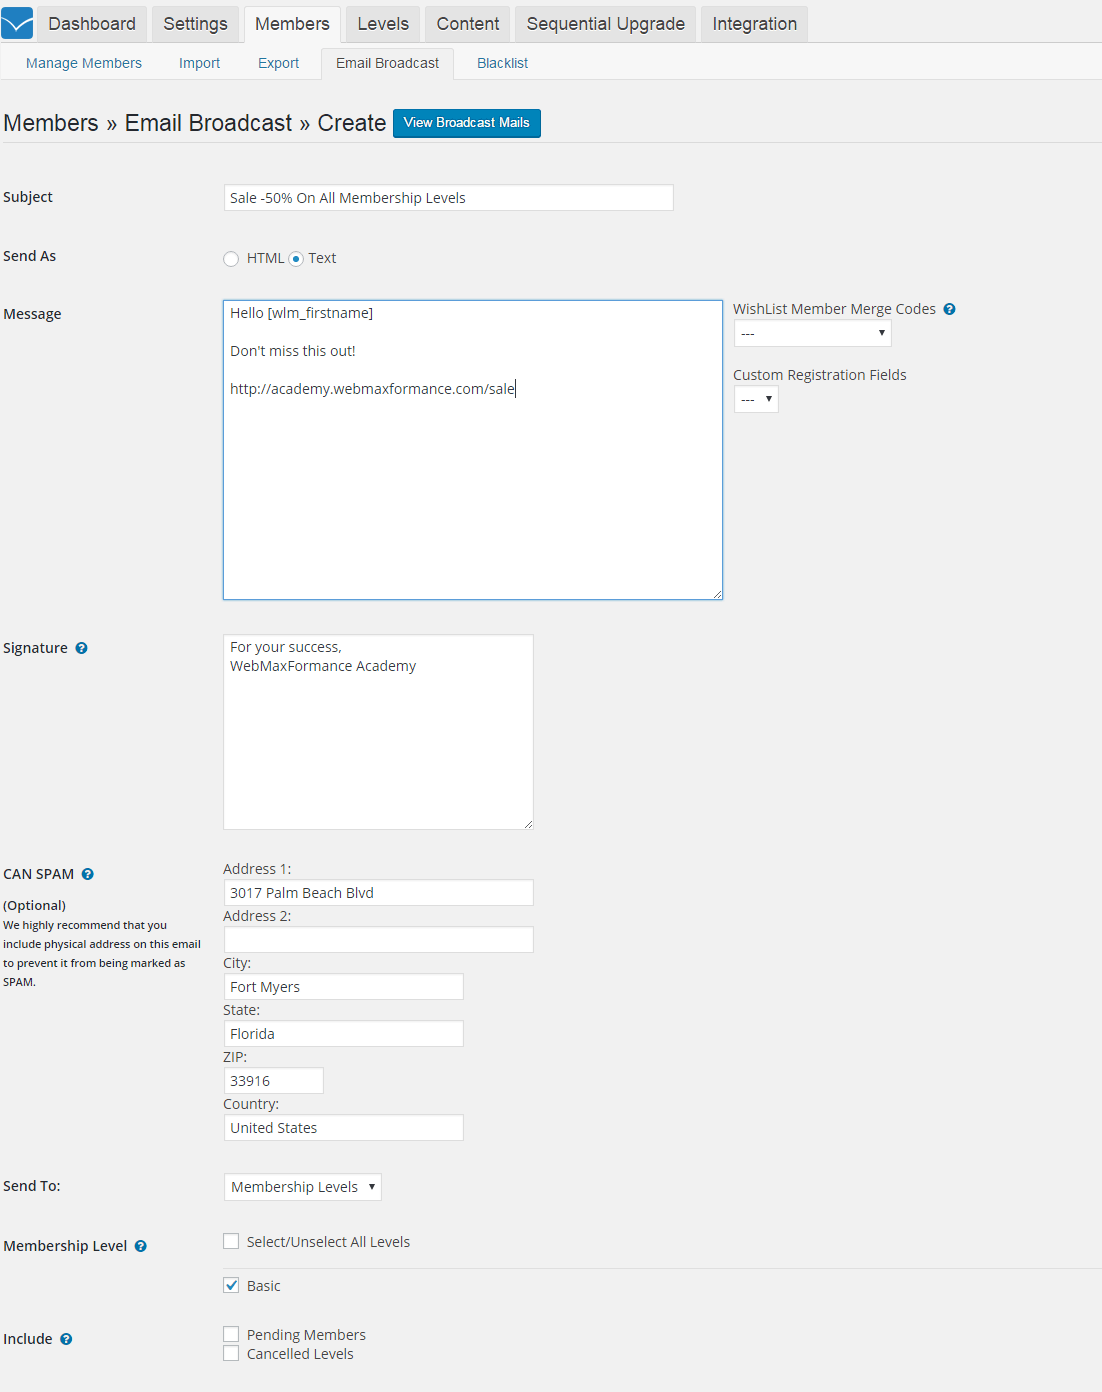
Figure 13. Broadcast emails through WishList
Manage Your Members In WishList Member
In WishList Member -> Members -> Manage Members you can make all kind of manipulations for your users. For the selected users you have bulk actions concerning:
- Move to next level
- Add to next level
- Remove from level
- Add pay per post
- Remove pay per post
- Cancel from level
- Un-cancel from level
- Confirm subscription to level
- Unconfirm subscription to level
- Approve registration to level
- Unapprove registration to level
- Turn ON Sequential Upgrade
- Turn OFF Sequential Upgrade
- Clear scheduled actions
- Delete selected users

Figure 14. Manage members with bulk actions
Note: The difference before moving and adding a user to a new level is:
- If a user is Added to a new level – he will belong to both levels.
- If a user is Moved to a new level – he will belong only to the new level.
Using Drip In WishList
Drip content (or as WishList calls it – Sequential Upgrade) is used to schedule your content to appear after some time from the subscription of your user. However, there is some limitation to this approach.
If you want to drip some content (posts or pages), you need to create a new membership level and to protect that content (posts or pages) with this new membership level.
Next, you need to go WishList Member -> Sequential Upgrade and select from which level you will upgrade your subscribers to which new level after 30 days for example.

Figure 15. Drip content (or Sequential Upgrade) in WishList
Once again, moving from one to the new level means the user will access ONLY the new level
Adding to the new level may be more suited for our purpose here because the user will keep the access to the old membership level and gain access to the new level after 30 days for example.
WishList Integrations
WishList is most popular among the membership plugins because of its many integrations with dozens of services.
Go to Integration -> Shopping Cart. First, we will list all payment methods that WishList Member support:
- 1ShoppingCart
- 2Checkout
- 2Checkout – Payment API
- Net – Automatic Recurring Billing
- Net – Simple Checkout
- ClickBank
- Cydec
- eWAY
- Infusionsoft
- JVZoo
- PayPal
- PayPal Pro
- Pin Payments
- Premium Web Cart
- Recurly
- RedOakCart
- SamCart
- Stripe
- UltraCart
- Generic

Figure 16. Shopping carts in WishList
Now we will list all the possible autoresponder integrations:
- ActiveCampaign
- arpReach
- AutoResponse Plus
- AWeber
- AWeber API
- Constant Contact
- GetResponse
- GetResponse API
- iContact
- Infusionsoft
- Interspire Email Marketer
- Mad Mimi
- MailChimp
- Maropost
- Ontraport
- Generic

Figure 17. Autoresponder Integrations in WishList
And lastly, we will list all webinar integrations:
- Easy Webinar
- Evergreen Business System
- GoToWebinar ®
- GoToWebinar API ®
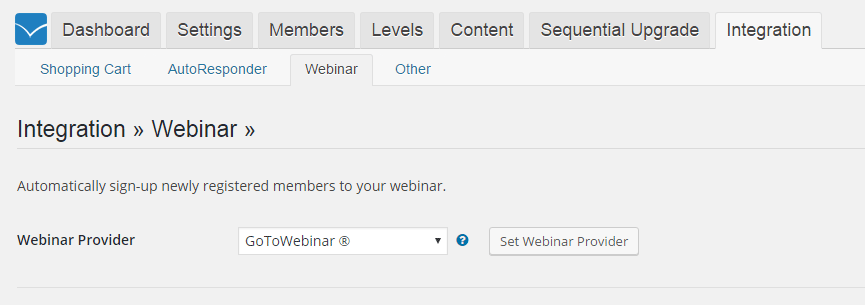
Figure 18. Webinar integrations with WIshList
Final Words
The possibilities with WishList are almost limitless. Because of its seniority among the WordPress membership plugins, it can be integrated with virtually every other popular platform. So if you have many different systems for payment, autoresponder or webinar, WishList probably will be your best solution.