Hosting Companies Recommendations
Choosing a good web hosting company is critical for your website. Web hosting companies tend to make things way too confusing with useless feature overload, short-term discounts (then long-term high prices), and over-promising customer service.
Of all the web hosting companies on the Internet, we recommend only a few:
However you won’t hear any good word from us about Hostgator – we have terrible personal experience with them concerning their support, and we don’t recommend buying hosting from this hosting company if you are building a serious business online!
What Hosting Are We Using?
We’ve recently moved on SiteGorund (from HostGator), and now we are truly satisfied. They have an excellent customer service, including a free domain with registration (which you shouldn’t use as your primary domain), professional technicians, high memory limits and genuinely cheap long-term pricing. If your budget allows it, SIteGroud is an excellent choice for your professional business online.
We also have a nice experience with iPage too. It’s currently the cheapest hosting company on the market that provides unlimited resources (and included free domain) for only $24 for the first year (but $155 for every next). The support is excellent, and it’s a perfect solution if you are starting with a small budget (however, we recommend to open your wallet and don’t be cheap when buying hosting!)
Next, we will show you how to set up hosting from SiteGround. The procedure is almost the same for all hosting companies.
Setting Up Hosting With SiteGround
- Go to SiteGround and click on SIGN UP.
Figure 1. Sign up hosting at SiteGorund
- Choose one of the plans that most suits your needs and click on ORDER NOW.
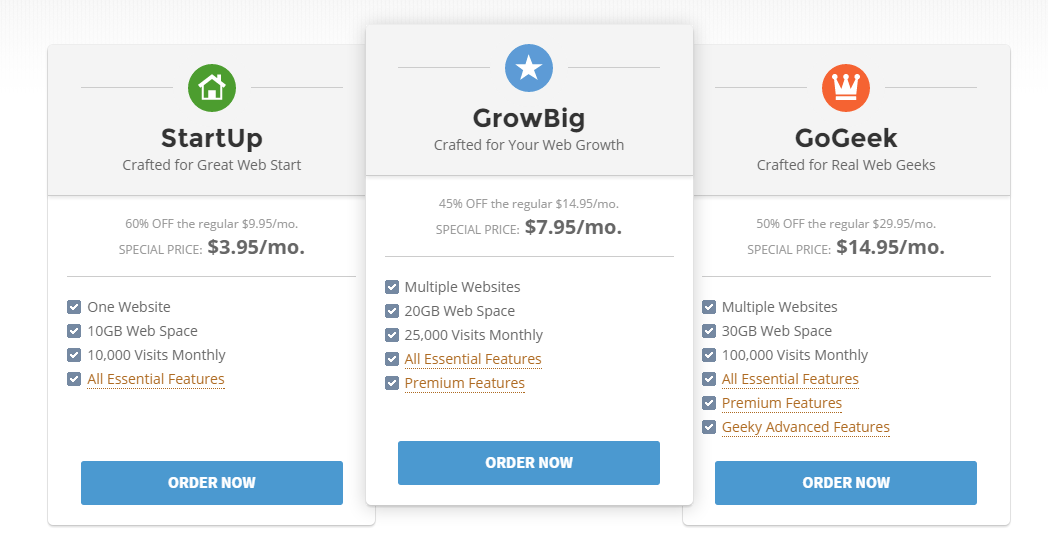
Figure 2. SIteground Hosting Plans
Also, SiteGround provides great options for using Cloud Hosting. If you have some complex website or SaaS platform, you can consider buying one of the clouds. However, depending on the complexity of your platform, for example, if you have a web-based platform for performing automated tasks, you may want to consider Dedicated Server from inMotion.
WARNING: NEVER consider buying WordPress Hosting or SEO Hosting from any company, not just SiteGround. That’s a wrong choice on so many levels.
On the second step, you can choose to register a new domain which is FREE, or you can use the existing one that you’ve bought previously on NameCheap.
Just a quick word of caution here: Don’t use the free domain that is offered here as your primary domain for the membership site! The domain itself is connected to the hosting, and your hands will be completely tied if you want to move it to another hosting.
You CANNOT transfer the free domain that comes with the registration, to another hosting company!
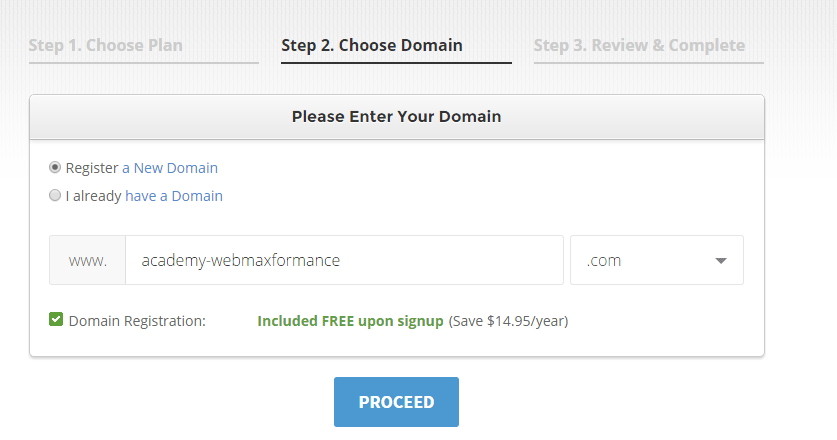
Figure 3. Registering free domain with SiteGround (make sure it’s not your primary domain for the membership site)
- On the third step, you need to enter your billing credentials and your hosting plan will be activated immediately.
Overview Of The SiteGround cPanel
When you log into your SiteGround Dashboard, you can see the basic information about your account.
- From here you can save the DNS servers and FTP credentials in a notepad document for a later use.

Figure 4. SiteGround Dashboard
Now open your Namecheap Dashboard and find your domain and click on Manage.
- Choose Custom DNS.
- Put the DNS servers that you get from SiteGround.

- You can access your cPanel in SiteGround Dashboard by navigating to your SiteGround Dashboard -> My Accounts -> Go To cPanel.

Figure 5. SiteGround cPanel
The cPanel is a place from where you can manage your files, domains, emails, databases, etc.
But first things first. Let’s connect the domain that you’ve bought from NameCheap with your new hosting.
Connecting Your Hosting DNS Servers With Your Domain
From your cPanel locate Addon Domains. Here you need to put your domain that you’ve registered previously. Put your domain in the New Domain Name field. The FTP and the root folder will be automatically populated. Enter your password and click on Add Domain.
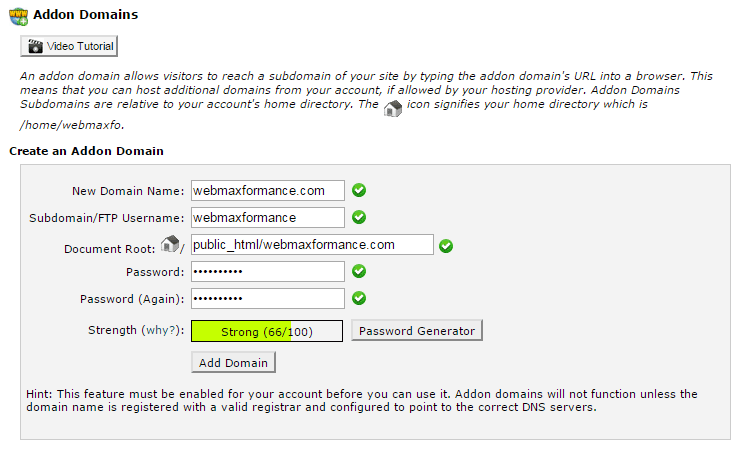
Figure 6. Addon domains in SiteGround cPanel
That’s it for now. In the next tutorial, we will teach you how to install WordPress in this root folder that we’ve created using the Addon Domain feature.
cPanel useful features
The cPanel has a lot of features but don’t be scared because we won’t work with all of them. We will be using just a few main cPanel features for configuring our websites.
-
File Manager
File Manager is probably the primary place where we will hang out the most. From here you can upload files directly to your website or delete them. Also, you can set permissions to your files, which will be an advanced lesson in our Academy.
Your websites will be stored in the public_html folder.

Figure 7. File Manager in SiteGround
-
MySQL Databases
Second important place in our cPanel is MySQL Databases. To manually install a WordPress site, you must first create your database and user. You will learn in the next lesson how this step can be easily done when you need to install your WordPress site manually.

Figure 8. MySQL Databases in SiteGround cPanel
-
phpMyAdmin
This important feature allows us to manage all the databases created for our websites. This is usually for advanced users because it requires some technical knowledge for repairing a damaged database for example.

Figure 9. phpMyAdmin
-
Services for automatically installing platforms (Softaculous)
The new cPanels provide services like Softaculous for automatically installing WordPress or many other platforms with just a few clicks. The advantage is that it saves you a lot of time and trouble.
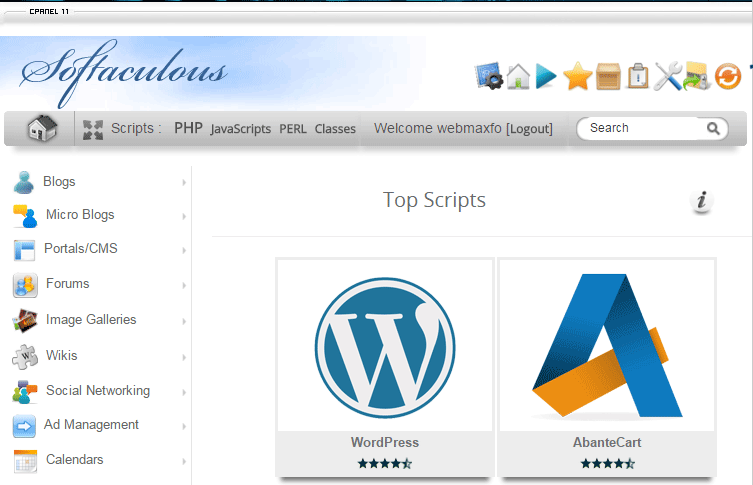
Figure 10. Automatically install WordPress
But the small disadvantage is that these services often create generic data for your website (like random usernames, passwords, databases) and can be pre-packed with additional unnecessary plugins.
That’s why we prefer making a manual installation of WordPress as you can see in the next tutorial.
-
Email Accounts
To appear more professional to your clients, you MUST have a decent email address from your company (contact@mycompany.com). You can create such email address in the Email Accounts where you can put your email name and select the domain.
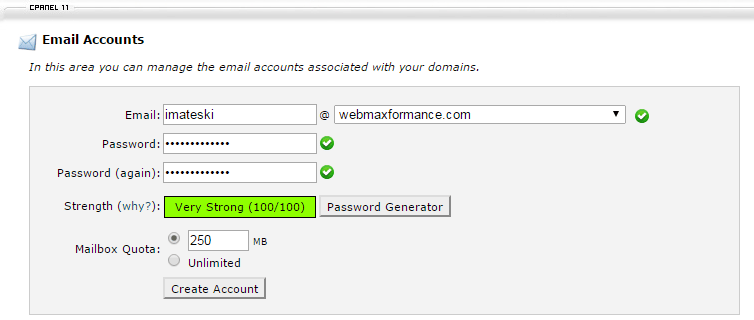
Figure 11. Configuring professional email account
And those were all the important features that you need to be aware of when working with your cPanel.
SiteGround Support
The imperative of all great hosting companies needs to be their excellent customer support (except for HostGator – we don’t know what their imperative really is).
SiteGround offers a great customer support which can be found in your SiteGround Dashboard -> Support. You can use their Live Chat where one of their technicians will be with you in a few moments assisting you about everything you have a problem with.
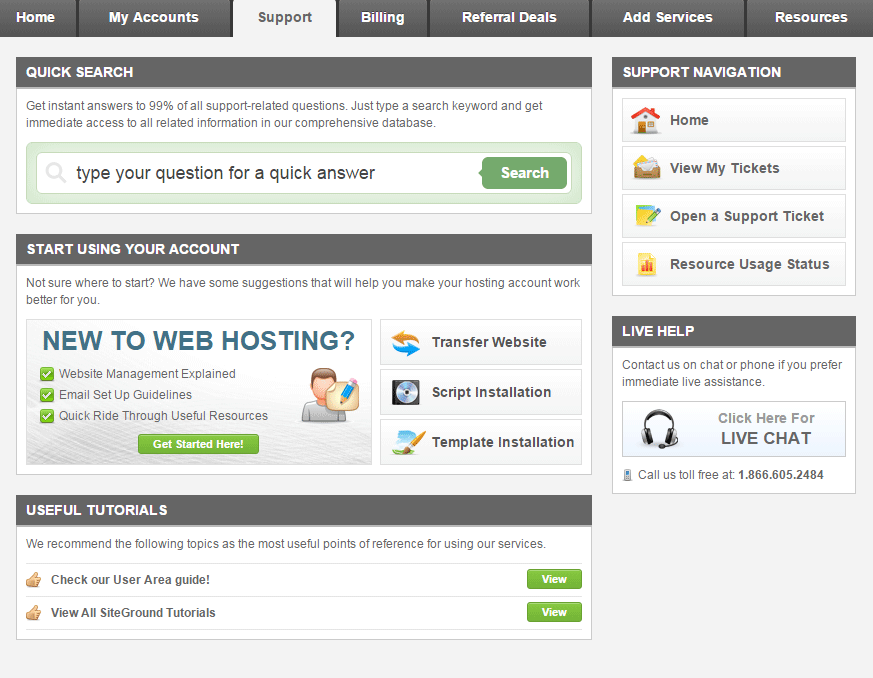
Figure 12. SiteGround Support
If your problem is more complicated (like migrating from another hosting to SiteGround), you can Open a Support Ticket. The expert technicians will review your ticket (usually within 15 minutes) and will ensure to solve your problem completely.
Final Words
Please do a proper research before buying a hosting. Your whole online business depends on of that choice! Don’t try to cut your budget when purchasing hosting because you may have regrets later. Decide on your favorite hosting and buy it with pleasure.
You can make savings on many other things like cutting the outsource for the design, the SEO and everything else that we will be teaching in our Academy.
Now let’s move to the actual WordPress installation on the next lesson…