The Importance Of Having A Contact Form
Most websites out there need a contact form so that the audience visiting their website can easily communicate with the site owner. Having a simple contact form allows the website owners to stay in touch with their readers very simple and easy. Your readers will be given an opportunity to contact you very fast without having to search for an email address or a phone number. Also, having an about or contact page (with contact form) is mandatory for ranking in the search engines. Besides, your site will look more professional with this page included.
About The Contact Form 7 Plugin
One of the most popular go-to form plugin for WordPress is Contact Form 7 that is free and has been downloaded over 1 million times and has an impressive 4.4 out of 5 approval rating from users. Contact Form 7 users love how easy it is to customize the forms according to their requirement. A very common problem that users often face when using a basic contact form in WordPress is the inability to filter spam messages and not being able to upload any file. But, this problem is not an issue in Contact Form 7. Also, the plugin supports AJAX submitting, CAPTCHA, spam filtering, and file uploading option.
Installing The Contact Form 7 Plugin
To download the plugin and log in to your WP Dashboard and navigate to Plugins -> Add New, search for the Contact Form 7 plugin and install it.
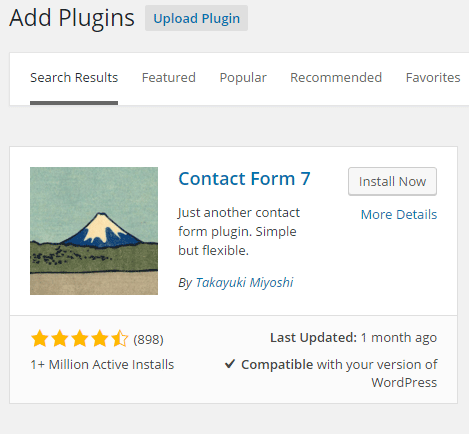
Figure 1. Installing the Contact Form 7
Contact Form 7 Configuration
After the installation, some notification may occur asking you to validate the Contact Form 7. Click on that link.

Figure 2. Validate Contact Form 7
Validate the contact form.

Figure 3. Completed validation of your contact form
There will appear a Contact section on the left side of the Dashboard. Now you can start customizing your form. Setting up Contact Form 7 is quite easy and offers instructions to help people with little WordPress knowledge to set up the form on their website. It is also very easy to add checkboxes, radio buttons, lists, drop-down menus, email fields, message boxes, and much more. The default form tags are good enough for us, but you can use any tag from the provided above.
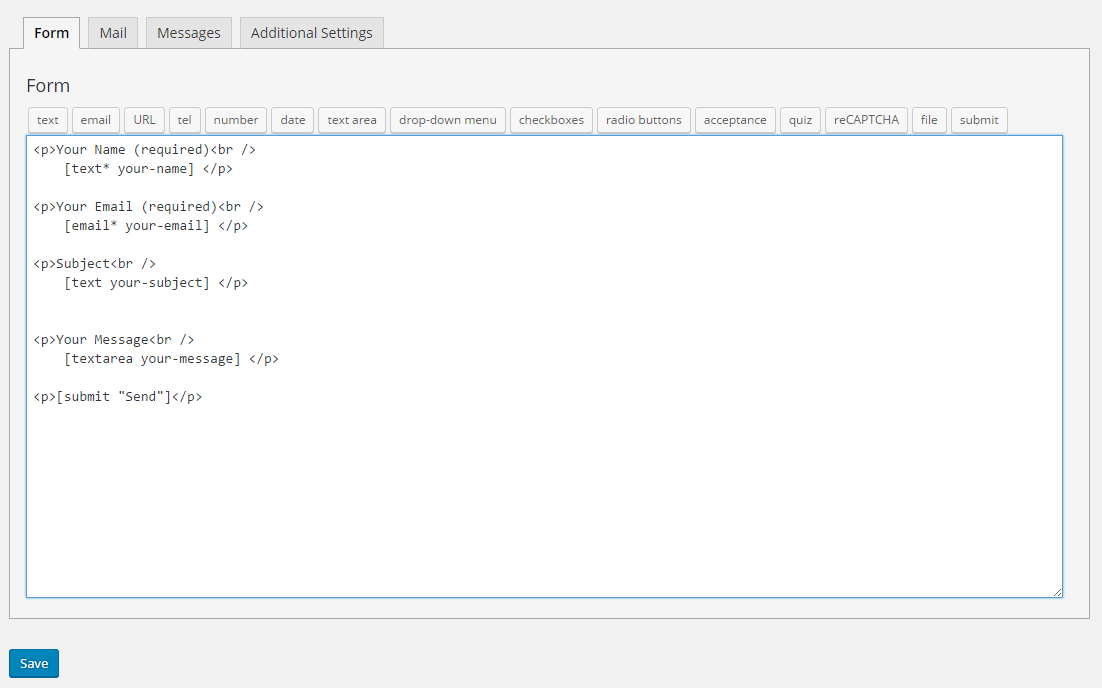
Figure 4. Contact Form 7 interface
Now move to the Mail tab. You can add your email address so that you can receive the messages in your inbox that are sent to you through the contact form. Users can customize the contact form it sends to remind them from where the messages have come from. So from here you can check if everything looks as it supposed to, and make sure the email is correct (and existing)
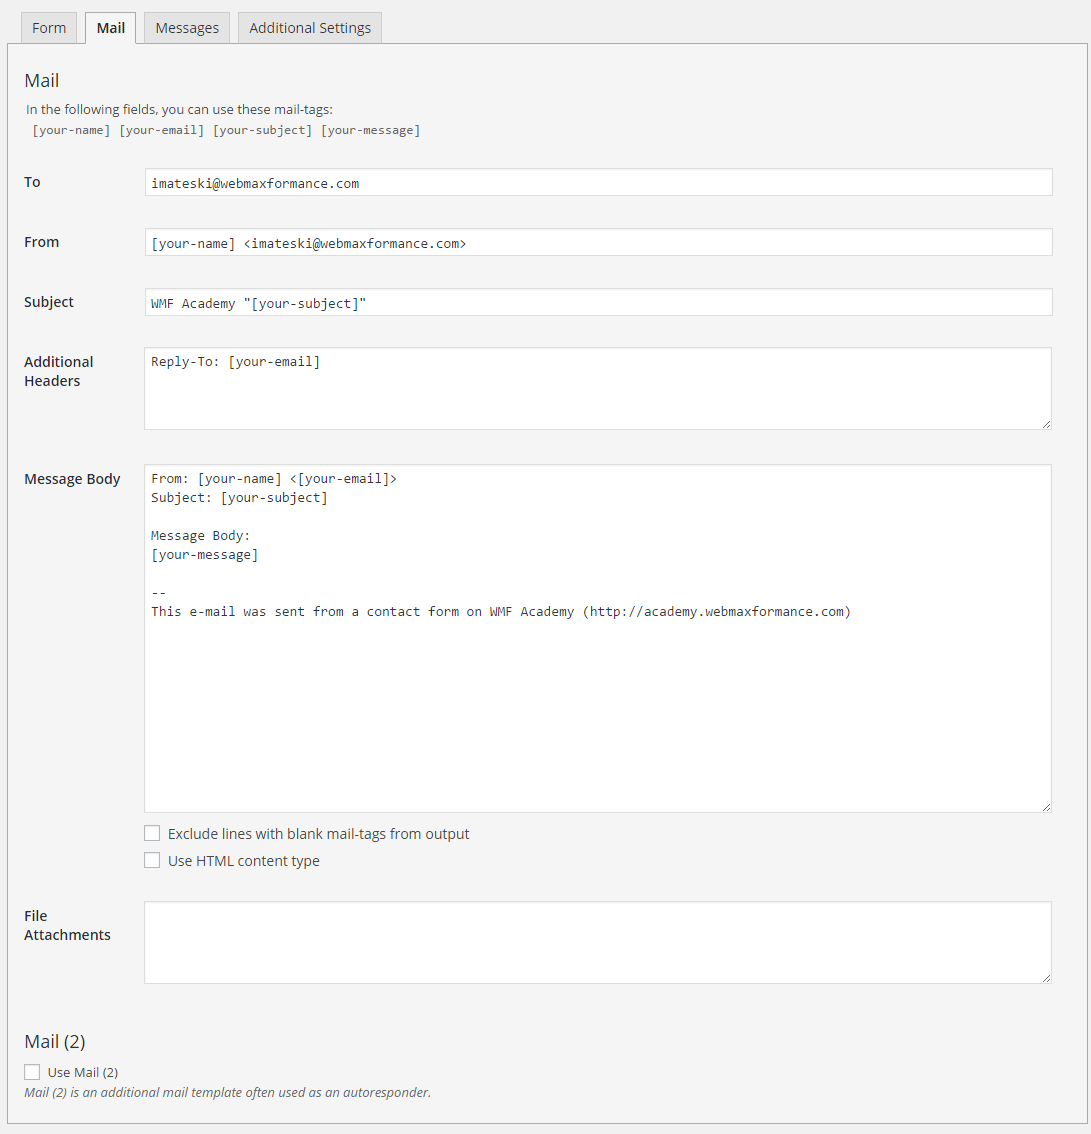
Figure 5. Configuring your mail in Contact Form 7
On the Messages tab, you can customize the error message that is shown after the data of the contact form is submitted.
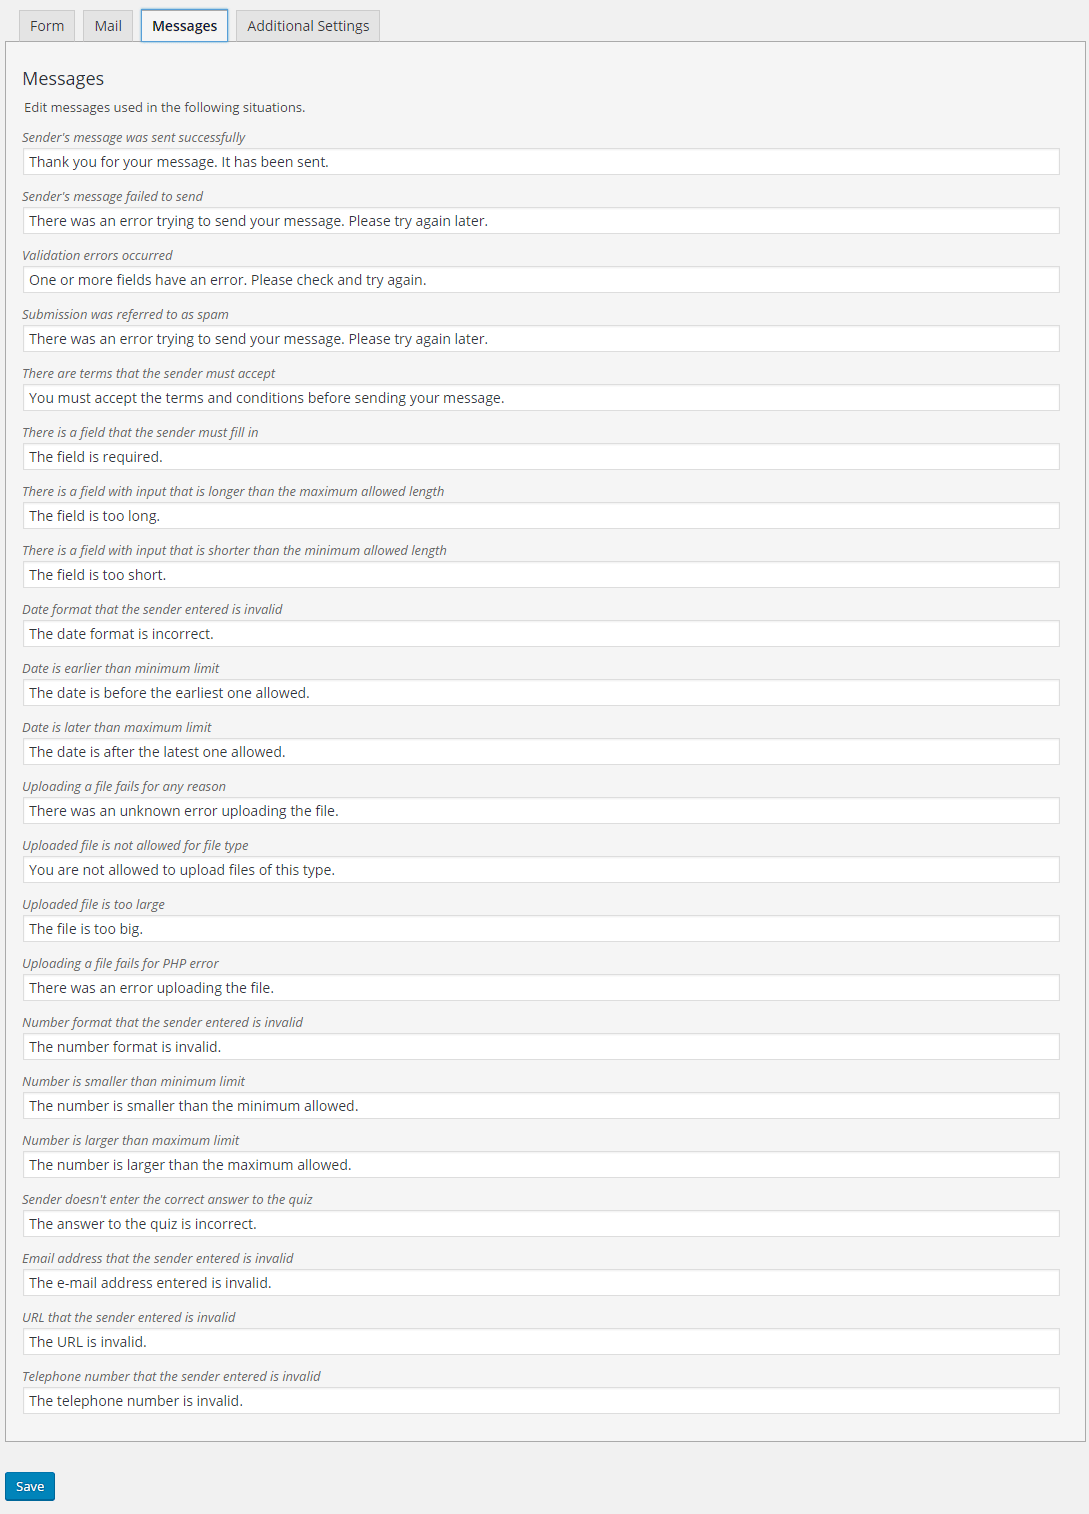
Figure 6. Customizing the error messages
Even though Contact Form 7 does not save the submitted messages to your database, you can integrate it with the Contact Form DB plugin to help you add this feature to your website.
Implementing The Contact Form 7 Shortcode
Having your contact form on your page couldn’t be easier for implementing. Click on the shortcode at the top and copy it. It will automatically select; you just need to copy it.
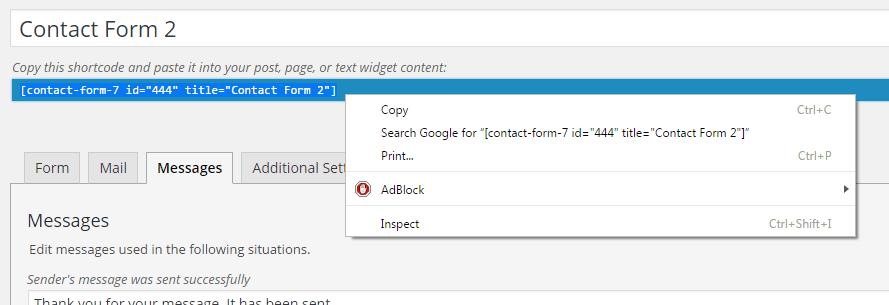
Figure 7. Copy the shortcode
Now create a Contact page (Pages -> Add New), and paste the shortcode in the Text editor. Publish your page.
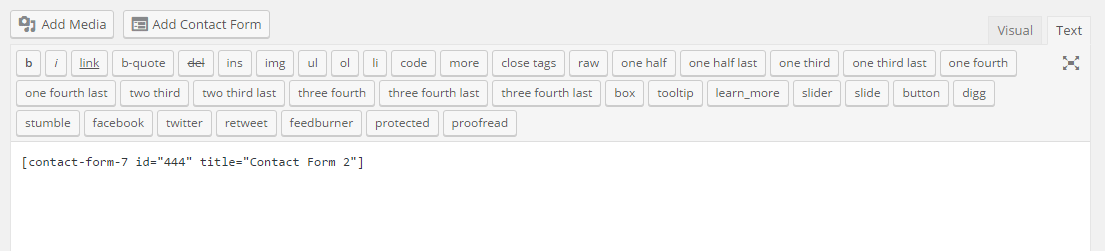
Figure 8. Paste the Contact form shortcode
Also, as you can see above the editor (next to Add Media), you can Add Contact Form directly on the page.
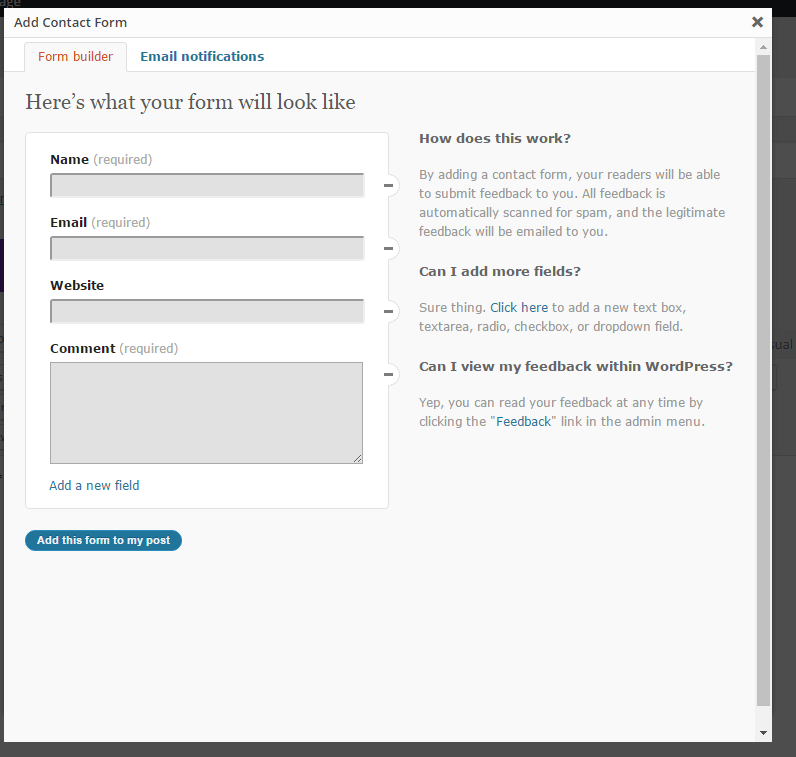
Figure 9. Add contact form directly on the page
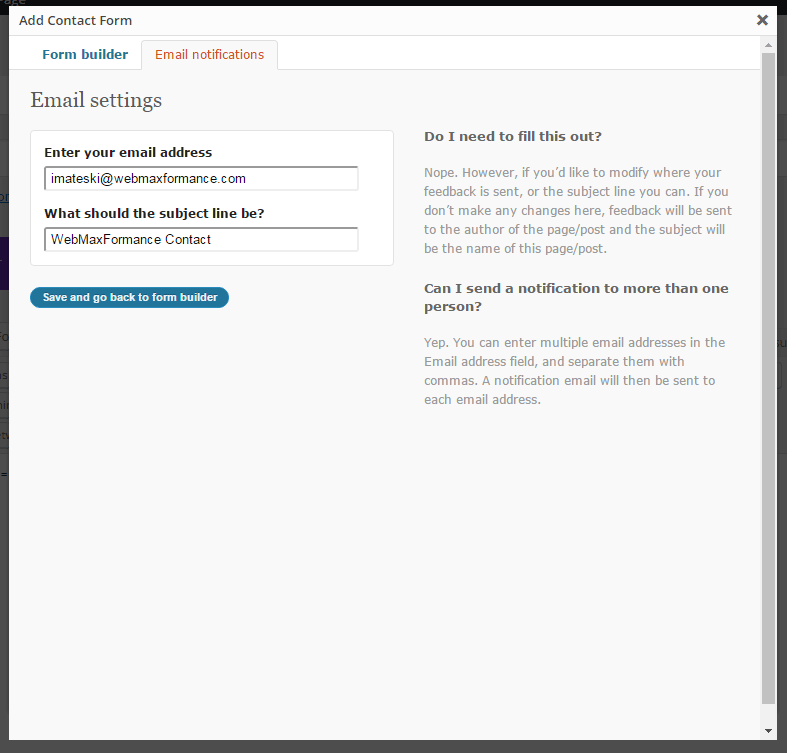
Figure 10. Put your email on the contact form
And here’s how our contact form looks on the frontend:
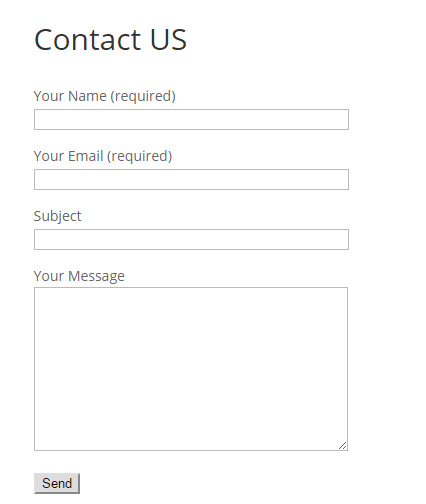
Figure 11. Our contact form at the frontend
Contact Form DB
Even though Contact Form 7 does not save the submitted messages to your database, you can integrate it with the Contact Form DB plugin to help you add this feature to your website.
Go to Plugins, Add New, search for Contact Form DB. Install and activate it.
From the left sidebar, you will notice the Contact Form DB panel from where you can further configure this plugin.
In the first section named Contact Form DB, you can find all form submissions that are stored in the database.
In the Shortcode section, you can select your contact form and choose a shortcode for frontend representation of the form submissions. Let’s say you want to display all from submissions in a table format on some private page. Select your form, choose the “table” shortcode and copy it. Now create a new page and paste your shortcode in the Text editor. Choose your page to be private, for your eyes only. Publish it, and now you have a table frontend representation of all submitted form submissions that are stored in your database.
The options section is for configuring the representation of your submitted forms, but there is no much work you can do here at this point.
Contact Form 7 reCAPTCHA
You can protect your contact form with a simple reCAPTCHA mechanism that will prevent the bots from sending spam messages.
By installing the Contact Form 7 reCAPTCHA plugin (from Plugins, Add New, Contact Form 7 reCAPTCHA) you can easily implement the Google reCAPTCHA mechanism under your contact form.
After the activation of the plugin, you need to navigate to Contact, reCAPTCHA and to sign up for an API key pair from Google. Put the label for your reCAPTCHA and insert your full domain. Click on Register.
Now get the site and secret key and paste them into the corresponding fields.
Enter an invalid captcha error message and click on Save Settings.
Now copy the ReCaptcha shortcode and open Contact Forms. Find your contact form and edit it. Place the shortcode before the sumbit button. Save your form.
You can see now how your contact form looks on the frontend.
Nice work. You have professionally configured your contact form.
Final Words
WordPress Contact Form 7 plugin has a lot of potential and has many other amazing features. In terms of ease and use, this plugin is hard to beat. It has ability to integrate with other plugins and tools to make it more effective. You can visit the Contact Form 7 official website to find out more about it.