The Divi page editor is a premium page builder plugin created by Elegant Themes, and it’s one of our top favorite editors. We are using this page builder for many years on our clients’ sites when the requirements for the websites are not very design-heavy. The Divi page builder is a very light-weighted editor that comes with the Divi theme and it allows you to build beautiful page designs without even touching a single line of code.
Elegant Themes offers even a separate Divi plugin in case you are using a different theme.
The beauty of this editor is that you can use in your blog posts for creating create custom post layouts. Note that most of the page builders don’t offer this feature (they only work for creating a Page design, not Post design).
Now, let’s get into designing your first landing page with the Divi backend editor.
Creating An Elegant Landing Page With Divi Builder
Before the actual creation of the landing page, you need to have a basic sketch or mockup of roughly how you want your landing page to look like. Here’s our sample landing page that includes the most important elements for your landing page.
This is a very basic mockup for your landing page, but it consists of many essential elements that you need to make the design in Divi Builder.

Figure 1. Drawing a mockup of our landing page
Start by creating a new page (Pages -> Add New) and name it Home. Click on Use The Divi Builder. Below, there will be opened the backend editor.

Figure 2. Backend Divi builder
The Divi theme will handle the navigation bar (logo and the menu), so from this backend editor, you need to start creating the rest of the landing.
Divi Builder Row #1
From the backend editor, you will notice already created few elements. This is your first section with the first row inside. This row needs to be split into two parts by clicking on the Insert Columns button and choosing 2/3 plus 1/3.

Figure 3. Splitting the Divi row
From the left column, click on the Insert Module button and from the modules, scroll down and choose Text.
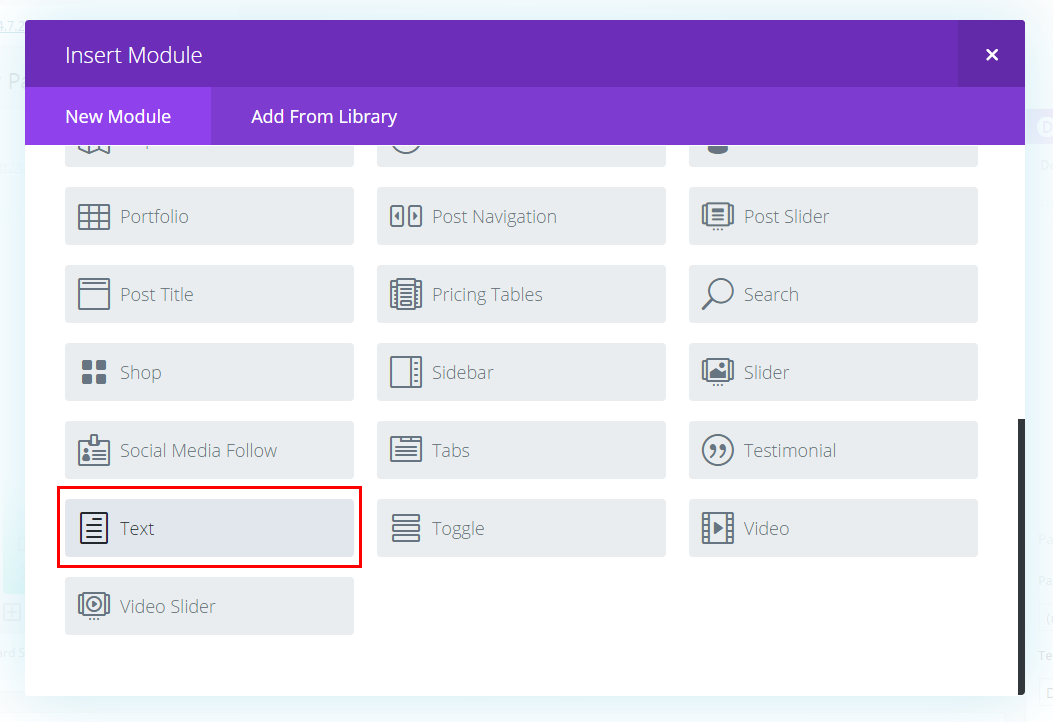
Figure 5. Adding text module in the row
The Text editor works like the default WordPress editor, but with a few advanced options. Insert your header text and description here and make the necessary changes.

Figure 6. Text module editor
Below the editor, there is Admin Label. You can put some descriptive name here for this element such as Headline, but that is only for internal purposes, in order to have a neat backend with distinctive elements.

Figure 7. Divi admin label
From Design settings, for your text, you can set all kinds of customizations. You can set the text width size, the font size of the header and the description, you can set the color, the margins, and paddings. As you can see, there is no coding required so far.

Figure 8. Advanced text module settings
But if you are comfortable with HTML and CSS, in the Custom CSS tab you can set the id or class for the text, and put some code for the text. We mostly use the Main Element field for adding a custom code that’s not present in the Design settings.

Figure 9. Custom CSS for Divi module
Now below the text element, click on Insert Module. Choose the Button element.

Figure 10. Insert button module
From Button Module Settings window, you can make all kinds of customizations for your button. On the Content tab, enter the button URL and button text, choose the button alignment and if you are using a darker background for this first row, choose Text Color: Light.

Figure 11. Configuring the button
Now move to the Design settings tab. Click Use Custom Styles for Button. From here you can customize your button however you like. You can set the button text size, the color, the border… We leave the creativity for the button up to you.
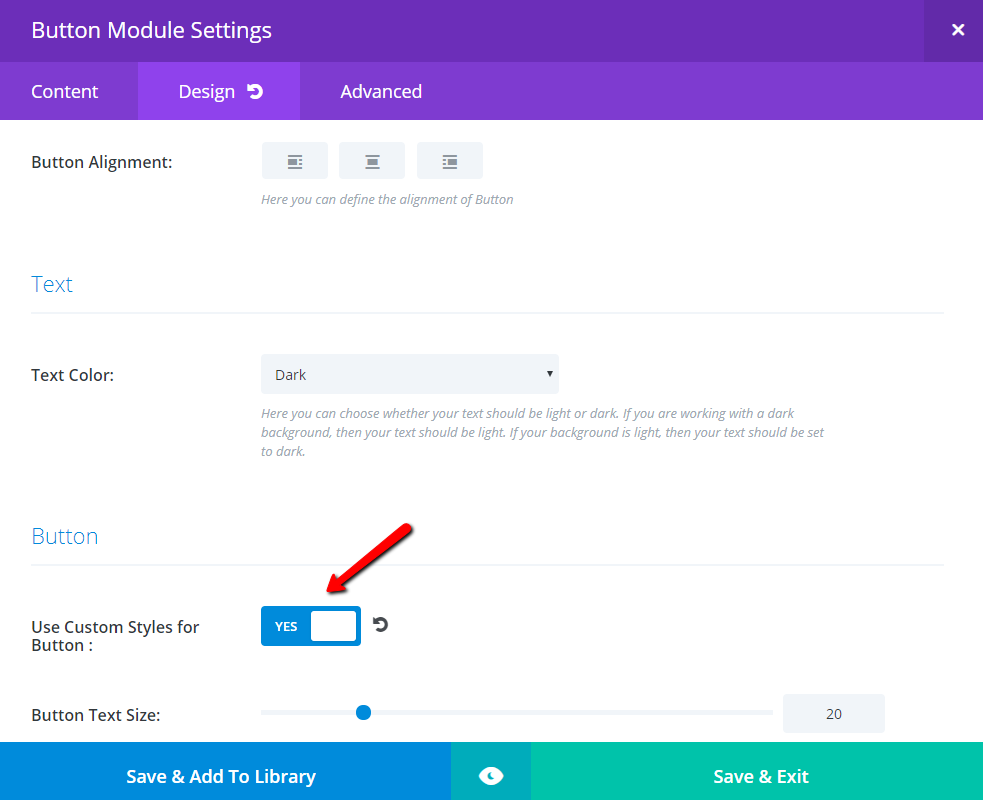
Figure 12. Advanced design settings for the button
Also, you can place a button icon. From Add Button Icon, choose Yes and select your icon. Now make the necessary changes for the button icon and the hover effects. Every feature is self-explanatory.
Figure 13. Adding button icons
When you are done, click on Save And Exit.
You’ve placed your introduction text and button on the left column, now you need to place the video on the right. Click on Insert Module and find the Video element.

Figure 14. Inserting a video module

Figure 15. Video module
The Divi Video module lets you add video using 2 different methods. You can either upload your own video file from your computer by clicking the “Upload Video” button and selecting the desired file (not recommended), or you can input an Video URL from a third party video source such as Youtube or Vimeo (recommended!). Simply copy and paste the URL from your browser and paste it into the Video URL field.

Figure 16. Video module general setting
If you want to see your video and your progress so far, without leaving the editor, just click on the big Eye button on the middle of the editor. The preview screen allows you to see how your progress looks like on different devices.
To disable the preview, click on the middle X.
For the Image Overlay feature, you can choose to upload an image that will be shown as an overlay before playing the video.
In the Design settings tab, you have the option to customize the Play button of the video.

Figure 17. Advanced design settings for your video
When you are done, click on Save and Exit.
Another alternative for inserting a video is by getting the embedded iframe from YouTube and inserting it in the Text element.

Figure 18. Inserting video in the Text module
Choose what works best for you.
Now, you can put a nice background (or background image) for this row. Edit the Row section (the blue one) by clicking on the top left button with 3 lines (Settings).

Figure 19. Settings for the main row
From here you can choose a background color, background image, background gradient or background video.

Figure 20. Inserting row background
You can notice that in the Design tab there are few other options for this row such as adding top and bottom dividers, creating custom padding, inserting inner shadow etc…
With that being said, we’ve finished our first row, let’s move to the second.
Divi Builder Row #2
Insert your second row by clicking on the Standard Section button and select the first full-width structure. Now we will create our custom divider.

Figure 21. Inserting a new standard row for the divider
Click on Insert Module and find the Text element. Put your heading here and make the necessary changes.

Figure 22. Creating a divider row
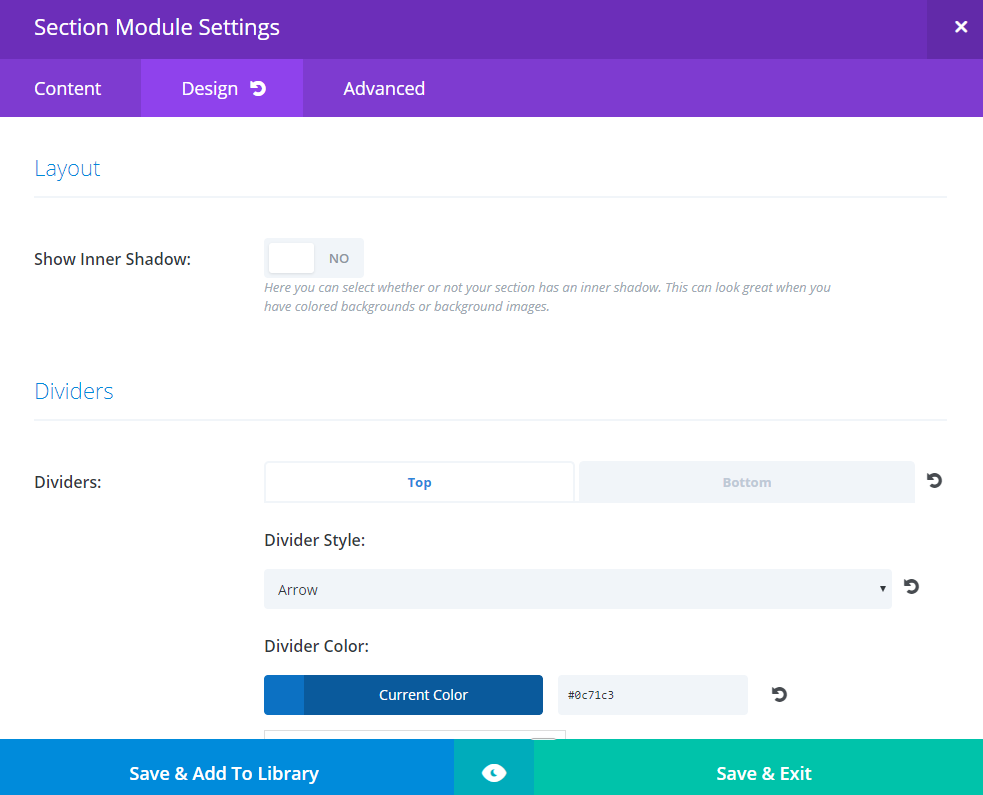
In order to put a nice border at the top of your divider row, first, you need to edit the full section (the blue one) by clicking on the top left button with 3 lines (Settings).
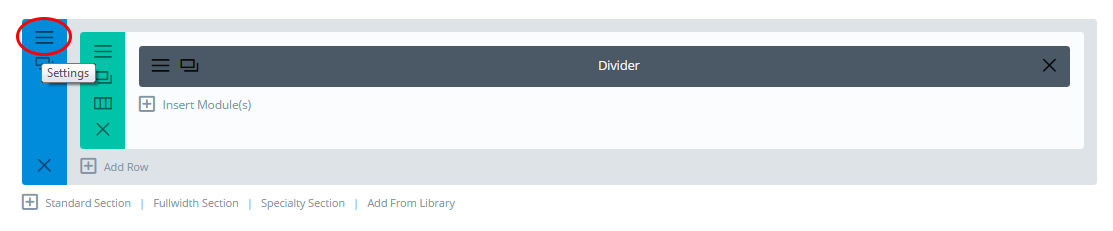
Figure 23. Divider row settings
From the Content tab, you can put a background color for your divider. We will choose a light gray color for now (#ddd).

Now we can put some styling for the top border of the divider:

Figure 24. Creating the top border for the divider
We’ve put the height of the border to be 8px, its style to be a solid line with a slightly darker gray color.
Click on the middle eye button for a preview.
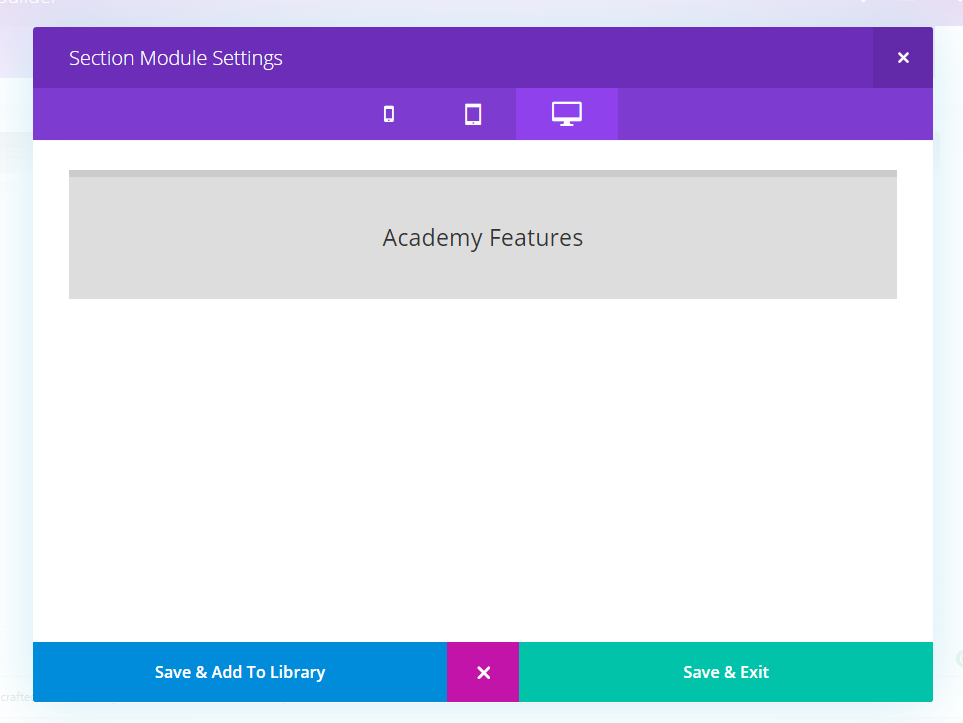
Figure 25. Preview the divider row
Nice work. We are done creating the divider. Now let’s move to the next row.
Divi Builder Row #3
Now you need to add a new section for our third row. Click on Standard Section button and split the row into 3 equal parts.

Figure 26. Splitting the row into 3 parts
On each part, place your featured image, by inserting the Image element.
Upload your image there with drag and drop.
From the Design tab you can choose to center the image. If you want to add a nice animation effect, from here you can choose Animation Style: Slide and Animation Direction: Up. This will animate the image from bottom to top.
From the Advanced tab, don’t forget to put the Image Alternative Text (for better SEO).
When you are done, click on Save and Exit.
Add the rest of the images in the same way.

Figure 27. Dividing the row into 3 parts for inserting the features
Now we need to add some description below each image. Click on Insert Module and choose the Text element. Put your description for your first feature here.
Repeat the procedure for the other 2 features.
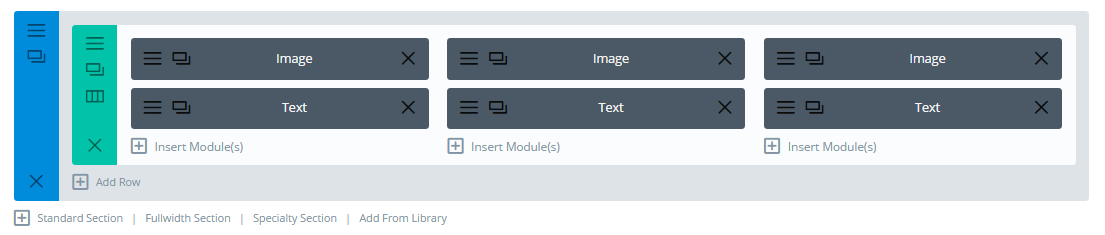
Figure 27. Inserting description for each feature
Divi Builder Row #4
We need to create another divider just like previously. However, in order to shorten our work, we will duplicate the divider section from above. Find the blue standard section with the divider inside and click on the Duplicate button from the left.
Now just drag the section to the end.
From the Divider text module, just change the text and you are done for this row.
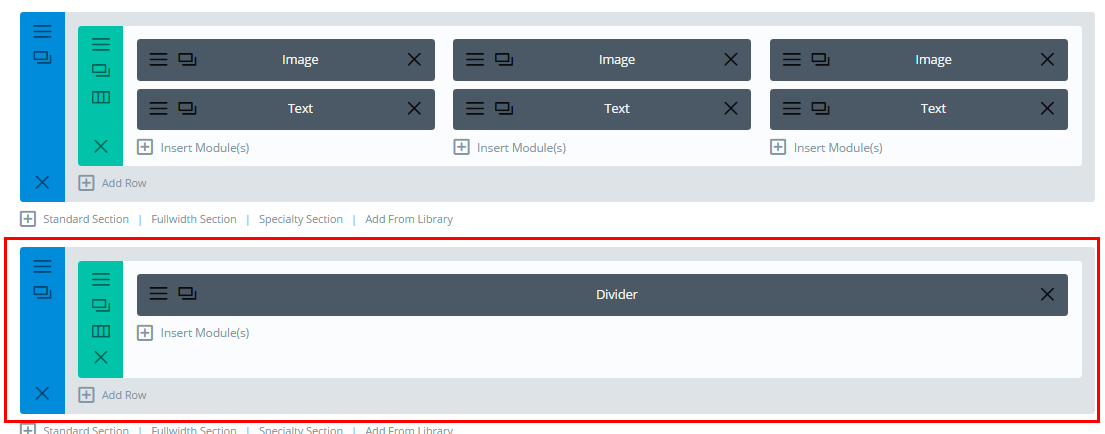
Figure 28. Adding a new divider row
Divi Builder Row #5 (Zig-Zag Technique Part1)
At this point, we will use the zig-zag technique where we will put the elements in a zig-zag manner:
- First, an Image on the left with a text on the right
- Second, a text on the left with an image on the right, etc.
Here’s what we mean…
Insert a new section by clicking on Standard Section button. Split the row into two halves.

Figure 29. Zig-zag technique row 1
Now in the left column, we will put our image. Click on the Insert Module and choose the Image element. Click on the Upload button to choose your image. Put an alt tag for the image. From the Design tab you can set an animation for your image to be:
- Animation Style: Slide
- Animation Repeat: Once
- Animation Direction: Right (animating the image Left To Right, for a nice cool effect)

Figure 30. Adding image in the left part of the zig-zag row
Now in the right column, click on the Insert Module and choose the Text element. Place your description there.

Figure 31. Adding text module in the zig-zag row
Next, we will repeat the procedure for the last row.
Divi Builder Row #5 (Zig-Zag Technique Part2)
Insert a new section by clicking Standard Section button. Split the row into two halves. Now in the left column, we will put our text. Click on the Insert Module and choose the Text element. Place your description there.
Now in the right column, click on the Insert Module and choose the Image element. Click on the Upload button to choose your image. Put an alt tag for the image.
You can set an animation for your image to be Right To Left, for a nice easing out the effect. Also, select the image alignment to be Center.

Figure 32. Zig-zag row 2
Repeat the designing process how many times you want until you list all of your features.
Remember to Update the page to save your work.
Final Words
And that’s pretty much it concerning designing your landing page with the Divi backend editor. We’ve only shown you a portion of the design, but by now you know how to design everything else. In the Advanced WordPress training, we will show you how to work with Divi Frontend Editor.
Now let’s move to the next lesson for Visual Composer page builder.